Maneuver node
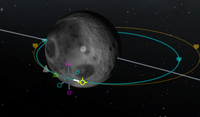
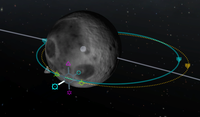
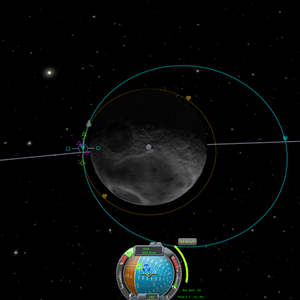
A maneuver node is a planned velocity change along an orbit. Multiple maneuver nodes can be added which will affect the following maneuver nodes. After adding a node, it shows the velocity change needed to reach the next new orbit. If multiple maneuver nodes have been planned, only the first one will be displayed on the navball - once it has been completed, it should be deleted so that the next one becomes visible.
Contents
Adding a Maneuver Node
Click on the vessel's orbital line and a popup will give the option to add a new maneuver node. Once created, selecting and right-clicking the node gives the option to delete it. If the maneuver node has been passed, selecting it immediately puts it in "delete" mode.
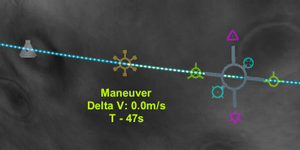
Hovering over a node displays the time of arrival and the Delta-V needed to perform the maneuver.
Directions
Because there are three dimensions of movement in space (or air), there are three basic axes on which to burn, with two directions per axis; thus, all maneuvers can be described as a combination of movement in three separate directions.
Prograde and retrograde
These vectors directly change the speed of the craft. Burning prograde will increase velocity, raising the altitude of the orbit on the other side, while burning retrograde will decrease velocity and reduce the orbit altitude. Both of these vectors are directly visible on the navball with the same symbol. To raise a craft from a lower orbit into a higher orbit using a Hohmann-Transfer two prograde burns are executed, while lowering the orbit two retrograde burns are used.
This is the most efficient way to change the orbital shape, so whenever possible these vectors should be used.When the craft is powerful enough it is possible to switch the orbital inclination by 180° when burning retrograde to cancel out all orbital velocity and then building it back up which is faster and more efficient than using the normal vectors.
Normal and anti-normal
The normal vectors are orthogonal to the orbital plane. Burning normal or anti-normal will change the orbital inclination. On the navball, the normal and anti-normal vectors are located on the equator line directly between the prograde and retrograde markers.
These vectors are generally used to match the orbital inclination of another celestial body or craft, and the optimal time to do this is when the current craft's orbit intersects the orbital plane of the target which is shown by the ascending and descending node. To match the orbital inclination, either perform a normal burn at the ascending node or an anti-normal burn at the descending node. When the relative inclination at the nodes will reach 0° and they will start to move rapidly toward each other's positions.
Radial in and radial out
The radial-in vector points directly toward the center of the orbited body (center of the brown hemisphere on the navball), while the radial-out vector points directly away from it (center of the blue hemisphere). Performing a radial burn will rotate the orbit around the craft like spinning a hula hoop with a stick. Radial burns are the least efficient way of adjusting one's path - it is much more effective to use prograde and retrograde burns. The maximum change in angle is always less than 90°. Beyond this point, the orbit would pass through the center of mass of the orbited body, and the ship would traverse a slow spiral in towards the center of mass of the orbited body.
During ascent from the launch pad, your craft is effectively burning radially outward.
Symbol gallery
Effects on orbit
Using
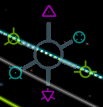
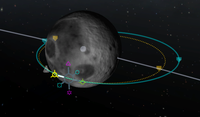
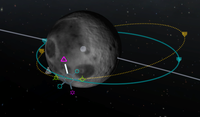
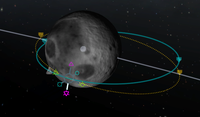
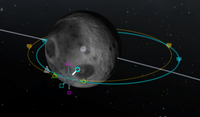
Upon selecting a maneuver node, six symbols will appear, each corresponding to the vectors above. Each symbol can be clicked and dragged to adjust the amount of velocity change desired on each axis. Pulling a symbol away from the center of the node increases the speed change along the selected axis, and pushing a symbol toward the center of the node is equivalent to pulling the symbol on the opposite side. The further the symbol is pushed or pulled, the more rapidly the adjustment will be made.
After adding a maneuver node, three new values will appear next to the navball:
- Velocity change required, in meters per second
- Estimated burn time
- Time to maneuver node (or time since the node was passed)
Because a maneuver node assumes an instantaneous velocity change, a perfect burn is impossible; to get the best results, it is recommended to burn half of the time before the node and the other half directly afterwards.
Maneuver nodes can be used to reach a specific orbit without needing to continuously monitor the orbital map. When performing an aerobraking maneuver, the current maneuver node will automatically update the needed velocity change as the craft's velocity decreases; this can be used to perform manual corrections if the aerobraking turns out to be insufficient or excessive.
Burning
To perform the desired maneuver, the burn have to be initiated at the time indicated. For long burns, the half of the burn should be performed approximately before hit the node is actually hit (and the remainder afterwards).
The SAS help to line up the level indicator with the blue burn direction indicator as soon as maneuver node is set up - once the maneuver has been defined, the burn direction will not change, regardless of the craft's position.
On completion of the burn, the marker may begin to move away from the current heading; this is merely because it was not perfectly lined up. This can generally be ignored, since it is usually a small error rather than a large one.
Once the desired velocity change approaches zero, the throttle is reduced to avoid overshooting; once it reaches zero (or reaches a sufficiently small value), burning is stoped (press "x"). Once the maneuver is completed, the blue marker becomes meaningless, so the node needs to be deleted. This is especially important if multiple maneuver nodes are set up, since the next node will not show up until the current one is deleted.
