Tutorial:Basic Science mode
| This page or section is in need of being brought up to date. Please help Kerbal Space Program Wiki by fixing inaccurate or outdated information. Version 0.23 and 0.24 introduced some minor changes to science mode. |
Science mode is a cut down Career mode, and was originally called Career before 0.24 added Funds and Reputation. You can follow this tutorial for Career mode, but you'll run in to funding problems since it doesn't cover contracts.
Contents
One part ship
Lets start learning the basic of Kerbal Space Program with a one part "ship".
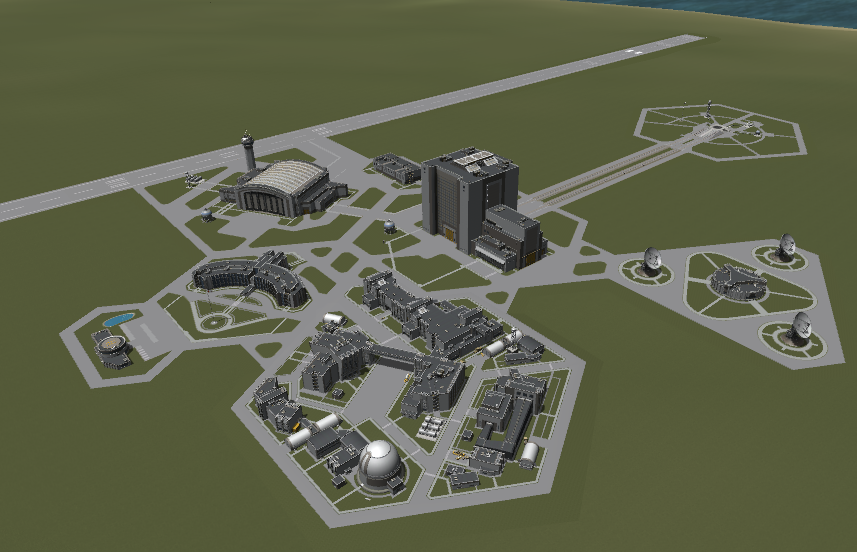
Starting the game, you will see this set of buildings:
This is Kerbal Space Center. Click on the middle building to start building your rocket.
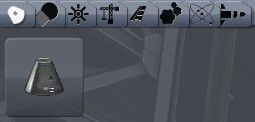
On the left side of the screen you will see an option to select parts for your ship. Click on the only available Pod - Command Pod Mk1.
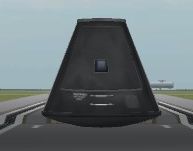
The pod will be put in the middle of your screen.
You are ready to learn some basic controls of the game and about gathering Science. Click on the green Launch button on top right of the screen.
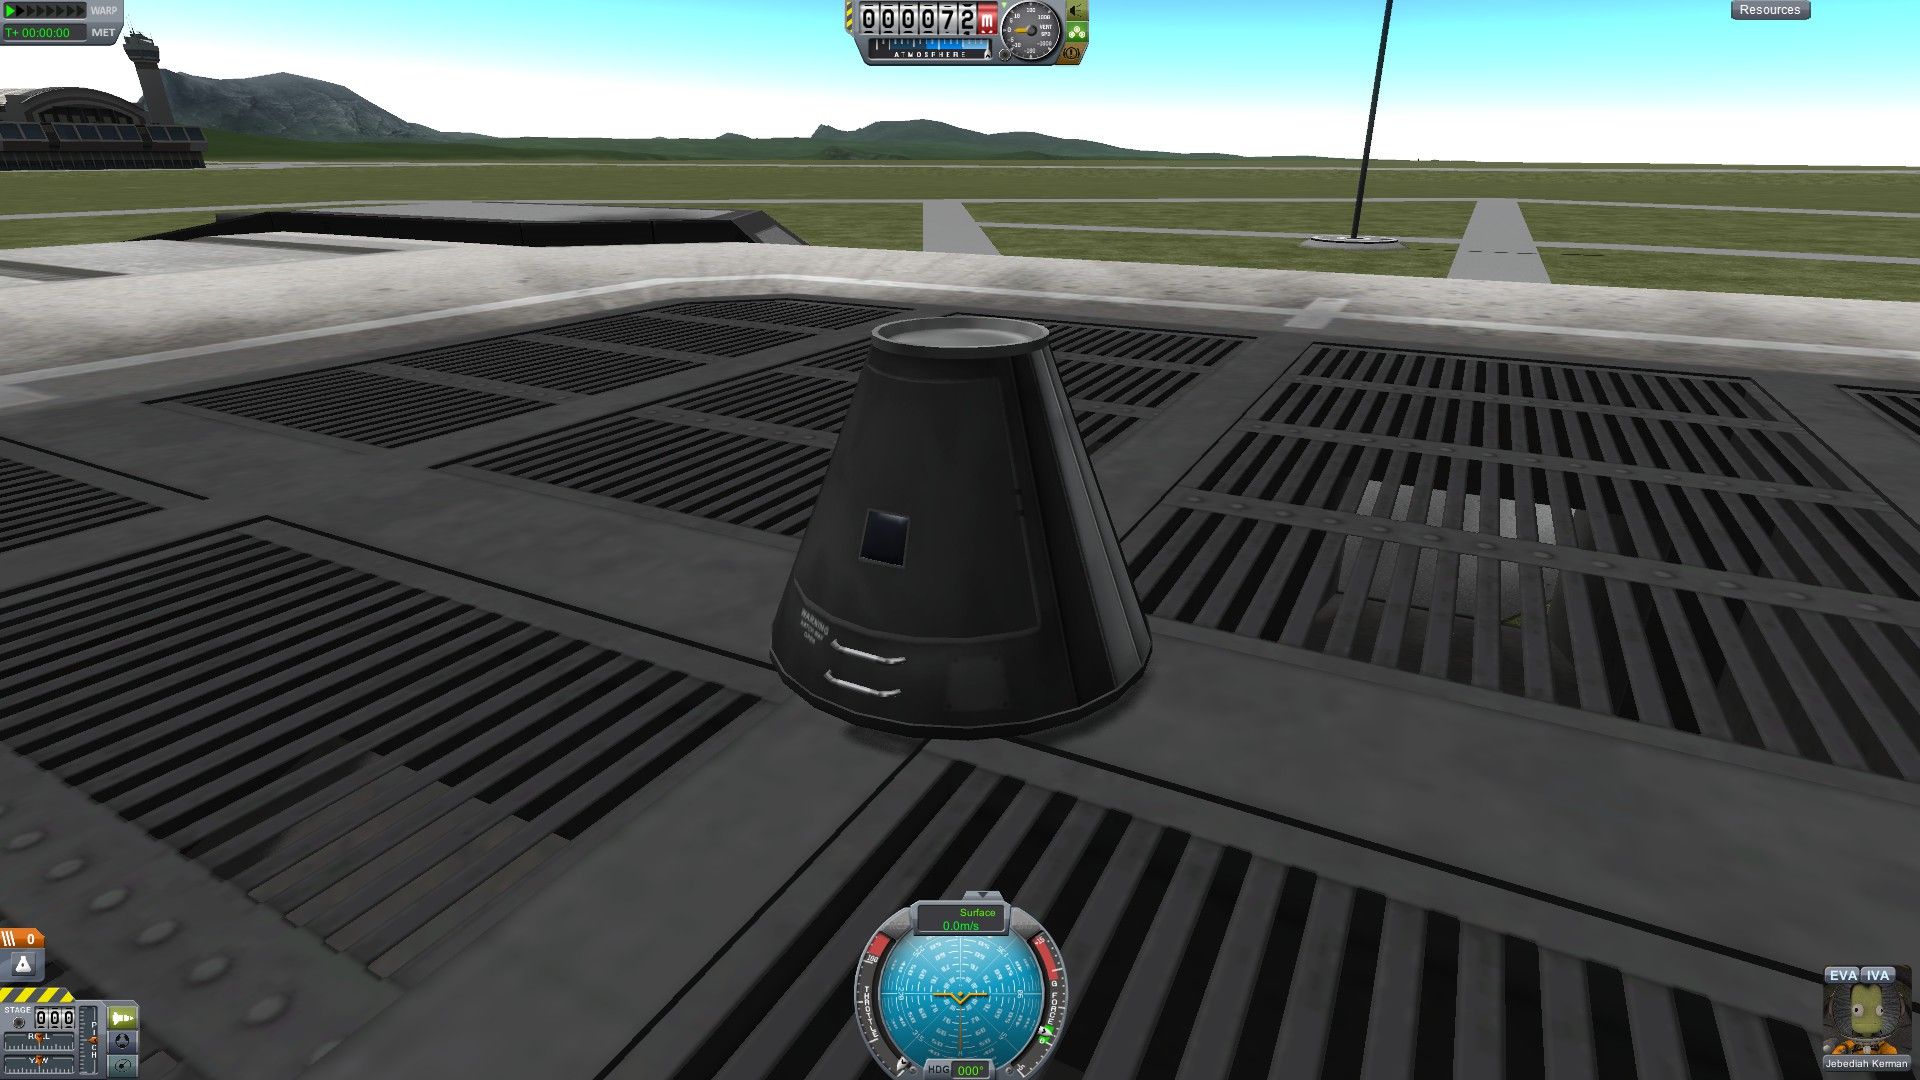
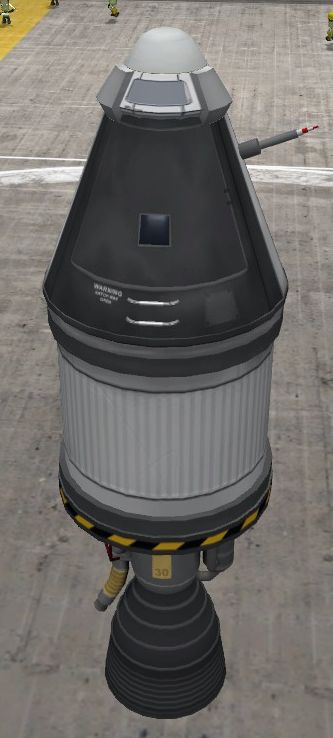
You can use the mouse wheel to zoom in and out, hold and drag right mouse button to move the camera. Zooming in, this is what you should see on the launch pad - your first ship:
Now, lets learn a few things about what we can do here. The main goal of all of your early missions in Kerbal Space Program is to collect Science points. Science is used to unlock new ship parts which you need to go further than any Kerbal has gone before. Even without leaving the launch pad you can collect some useful Science.
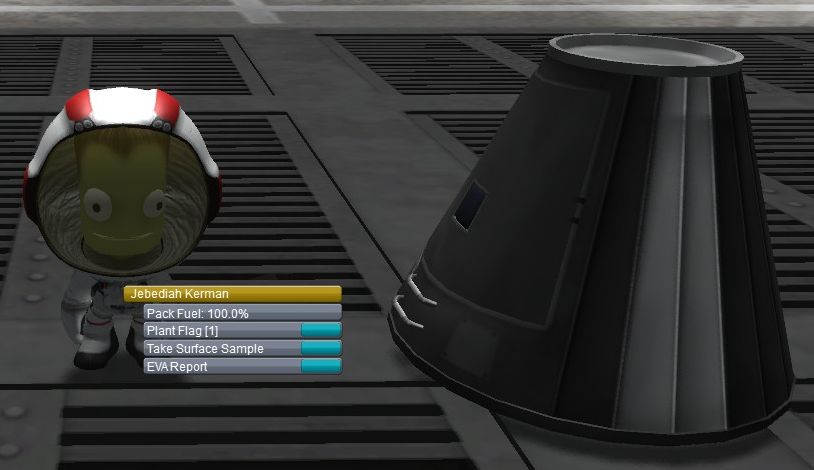
Go over your Kerbal on the bottom right corner of the screen and click the EVA button. This will start their Extra Vehicular Activity, or in other words they will leave the ship. Feel free to walk around. When you are ready to start gathering Science, right click on your Kerbal.
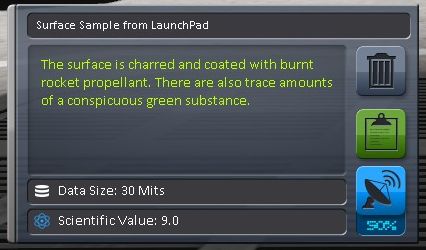
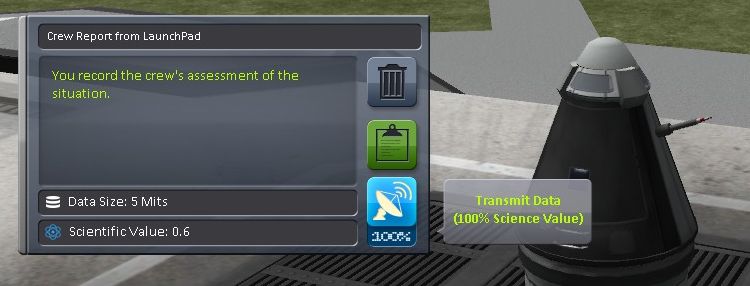
They can do three things - make an EVA Report, Collect Surface Sample and Plant a Flag. EVA Report and Surface Sample will gain you Science, so click on them. Here is a window that will pop up:
Click on the green clipboard to save your findings. You can only store one Sample and Report on your Kerbal, so it's time to go back to your ship. Approach the pod, grab onto it and board. If you exit again you can collect different EVA Report while you are holding onto your Pod, then go back again into it to store the data.
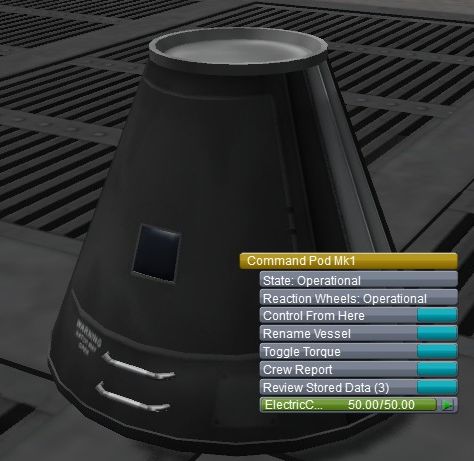
Right click on your pod and you will see various options you have:
You can also collect some more Science by doing Crew Report from the Pod, so click on that now and store your findings. Once you have all of that Science you can move your mouse over the altimeter on the top middle of the screen to find your Recover Vessel button:
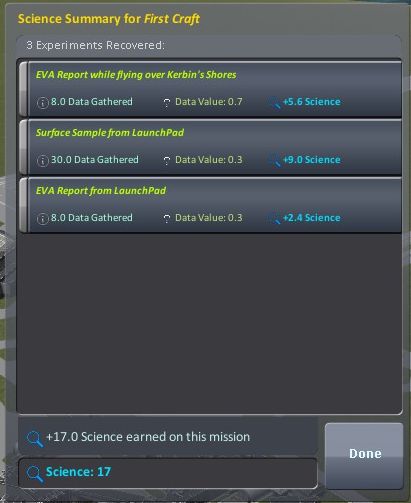
Click on that to end your mission and cash in all that hard-earned Science. Here is a science report you can see after the mission. The number of entries and total Science earned will vary depending on what Experiments you have performed.
Five part ship
Now that we know how to collect some Science, recover our ships and so forth, we are ready to get into the basics of building a very basic ship. Here is the design we will be going for:
To build this ship, you will start with Command Pod Mk1. Then, go to Propulsion tab on top-left of the screen. From there you will need FL-T200 Fuel Tank - attach it under the Pod. Also on the same tab, take the LV-T30 Liquid Fuel Engine and attach it underneath the Fuel Tank.
Great, now you have a way to go up, but you also should make sure you have a way to get down safely. Go to the Utility tab, take the Mk16 Parachute and attach it on top of the Pod. Now your Kerbal astronauts have a way of landing safely after their flight.
The last part you will want on your ship is located under the Science tab. Take the Communotron 16 and attach it somewhere on your ship that is not the Pod hatch - for example on the side of the Pod. We will by using this Antenna to send Science back from our ship before our mission is over.
Last important thing you will need to look into is the Staging. It is the small stack of icons on the bottom-right of the screen.
You will want your icons to be arranged in this way. Click on a plus sign that will appear when you hover over the Staging, then click on the icon that looks like an engine and move it down to stage 1. Leave your parachute on stage 0.
Here is how Staging works - all parts are activated from bottom to top (stage 0). Each stage is triggered separately when you click the staging button (space by default). This is very useful since you will be wanting for your engines to fire first, get you to a high altitude, and you will want your parachute to activate when you will be going down. If we haven't adjusted the staging, we would have the parachute going off at the same time our main engine would fire, which would result in the ship just flipping around and possibly crashing.
You know what they say - The engines should point toward the ground if you want to go to space. If they start pointing toward space, you are having a bad problem and will not go to space today. ;)
So, we have our glorious ship all ready. Now, click on Launch and lets head out!
You will see your ship sitting on the Launch Pad. Lets take a second to learn about transmitting data. Right-click on your Pod, left-click for a Crew Report. You will see a familiar window. Now, to Transmit Data, click on the blue button:
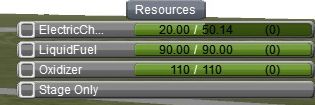
What this button does is it takes the Scientific Data we recorded and transmits it back to the Kerbal Space Center. This means we don't have to store it any more and we can gather more useful Science without having to Recover our Vessel to cash it in. At the same time, transmitting data takes Electric Charge. To see how much you have left, click on the Resources on top-right corner of the screen:
In the future we will have special parts to generate more Electric Charge. At the moment we can only get more by running our engines. So, lets prepare for our first flight.
Hold down Shift to throttle your engine up before you start it. In the bottom-middle of the screen you will see your Throttle gauge going up. Press "T" to engage SAS - stability augmentation system. This will ensure your space ship will try to keep pointing up.
Stages are executed when you press Space. To launch your ship, press Space once. You will see the fuel gauge on bottom-left slowly going down as you ascend through the atmosphere. When you will stop moving up and instead start going down, press Space again to launch your parachute. While you are descending you can still collect and transmit some Crew Reports back, so do that while you descend.
Your parachute will slow down your descent, and it will open fully at 500m to slow you down even further. Your first landing can be a bit rough - you might lose an engine and a tank, but your capsule should survive as long as your parachute is deployed. Once you are safely on the ground or in water, recover your vessel.
Right about now you should have enough Science to unlock a few new parts for your ship. So lets have a look at how to do that.
Research
Now you've got some Science Points you can unlock research topics in the Research and Development center of the KSC.
The R&D building is the building at the bottom of the picture. Go there and unlock your first topic by clicking on the Basic Rocketry topic and clicking the blue Research button. This will unlock several important components, such as the Stack Decoupler, which will allow multiple stages, and also your first science instrument - the Mystery Goo Container.
The Mystery Goo can be observed in all of the locations you've visited so far. Your observations of the Mystery Goo can be transmitted, but recovery of the Goo for study will net you much more science. Many science experiments (Mystery Goo included) can only be done once per component, so load up your rocket with a few Goo containers to get multiple samples in one trip (remember not to block the hatch!). You can start by getting some Goo observation from the launch pad.
You can now use the stack decoupler to make your landings a bit smoother. Go to the Vehicle Assembly Building and load your rocket. Detach the fuel tank and engine from your command module and add a stack decoupler there, then stick the fuel and engine back on the bottom. Then alter your staging so that the stack decoupler is in stage 0 with the parachute. Now when you press space to deploy your parachute, you'll automatically decouple your fuel tank and engine for a less explody landing.

Pre-Liftoff Science
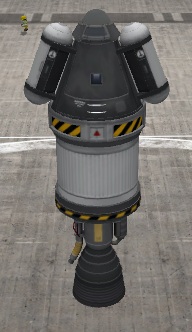
We can gather a lot more science with just our simple rocket without even lifting off! Here are some easy science points:
- From the launch pad, do a crew report, goo, EVA, and surface sample.
- If you can reach it, store your EVA and surface samples in your pod by right-clicking and 'storing data'. Otherwise, recover your vessel and kerbal and relaunch.
- Walk back toward the vehicle assembly building down the crawlway, about 100m. You can get a surface sample and EVA report here as well.
- Walk back toward the vehicle assembly building, but veer into the grass, about 200m out. You can get a surface sample and EVA report for the Kerbal Science Center.
- Launch your vessel from the plane hangar. You can get a crew report, goo, EVA, and surface sample from the runway.
Close to Home
Once you've done the above, you can still use the same craft to grab some other easy targets close to home. All of the above can be performed in the nearby:
- Shores of Kerbin: The sandy area bordering all oceans
- Oceans of Kerbin: Where all that water is.
- Grasslands of Kerbin: The bright green area behind the space center is close enough to reach.
To get to any of these, simply lift off, angle your vessel until it's over the area you wish to examine, cut the engines, and parachute down!
Once you're feeling brave, you can use all that fuel to get as high up into Kerbin's atmosphere as you can and perform all of those except the soil sample and EVA report. While it is possible to EVA and generate a report, if your ship is moving too quickly, your kerbal will not be able to hang on, and will plummet to her death.
It is also possible to revisit any of the biomes above and take readings while flying low over them. The reports' titles will say, "Flying over <biome>".
You can repeat experiments in the same place and get some extra science. The value of each experiment decreases the more times you repeat it, so you get lots of science for the first time, less for the second and very little for the third. Repeating an experiment a fourth time gets you almost nothing. The Research and Development center has a history of the all the science experiments you've done, so you can look for gaps. It also displays the value of repeating an experiment.
As you gather science you'll be able to unlock the next tier of research, which will give you bigger fuel tanks, bigger boosters and some aerodynamic components, which should allow you to build a rocket that can get to space. Kerbin also has several more biomes you can fly to, such as the polar, desert and mountain regions, all of which you can do experiments in for more science, though you'll probably find reaching these more difficult than getting to space.
First time in space
Now that you've gathered some science from Kerbin and unlocked a few projects, you've probably noticed that the cost of science topics increases the further along the tech tree you go. Luckily, the further you get from Kerbin, the more science you'll get from running experiments, so the key to advancing further in the tech tree is missions to more exotic locations, so let's go to space. You can progress to space with just the Basic Rocketry project, so don't worry about fully mining Kerbin for science if you don't want to. With the stack decoupler, you are able to build a multi-staged rocket powerful enough to lift you out of the atmosphere.
To get to space you'll want a multi-stage rocket. Multiple staging allows you to make more efficient rockets because you can dump your used fuel containers as you ascend so you're carrying less weight, making your remaining fuel go further. Take your basic suborbital rocket you've been using for flights around Kerbin. Add a TR-18A Stack Decoupler below its engine, followed by an FL-T400 Fuel Tank and another engine. This is the second stage. Then add another decoupler and a RT-10 Solid Fuel Booster as the first stage. Your original rocket is the third stage. Set up your staging so that the SRB ignites first, then put your lower stack decoupler and liquid engine in the second stage, and finally the upper stack decoupler and liquid engine in the third stage.
After liftoff, wait until the solid fuel booster has burned out. Then press space to drop it and activate the second stage. When the first fuel tank is empty, press space again to discard the second stage and activate the final stage. This should bring you on a trajectory high enough to get a Crew- and EVA-Report "while in space near Kerbin" (keep). When you feel bold you can also attempt to take an EVA report from Kerbins upper atmosphere, but make it quick or your Kerbonaut will get blown away when the atmosphere gets too thick.
For the proper audio background during the flight, listen to this youtube video.
Orbiting
The rocket you just used to get to space should be sufficient to get to orbit as well. Orbiting Kerbin doesn't get you any new science experiments, but it will get you some more science for "recovering a vehicle from an orbital flight" at the end of the mission. Establishing an orbit requires not only enough altitude to get out of the atmosphere, but also enough horizontal velocity to not come down again. You can do this by tilting your rocket to an angle once you reach 10km altitude. Once you have an apoapsis of around 80km, wait until you are near apoapsis and then burn horizontally until your periapsis is above 70km. To deorbit, simply burn retrograde. Get your periapsis to around 20km and the atmosphere will do the rest.
Mun and Minmus Exploitation
Did you know that the Mun has even more biomes than Kerbin? And did you know that each one of them has a higher science multiplier than anything you can do in Kerbin orbit?
When you do a Mun mission, you should thus try to visit as many biomes as possible per mission. Building a rover might seem like the obvious solution, but navigating a rover on the Mun is harder than it seems and getting from biome to biome takes much longer than you would expect. A much less time-consuming way is to construct a lander with enough fuel that it is capable of performing multiple sub-orbital "hops" between different biomes before returning to orbit. However, the limiting factor will be the number of SC-9001 Science Jr and Mystery Goo Containment Unit you can carry. You can solve this problem by bringing a Science Lab down with you, which will allow you to reuse your experiments, but the high mass of the science lab will then cause fuel to be a limiting factor. Another method is to keep a science lab in orbit and rendezvous and dock with it between hops; this requires good proficiency with orbital mechanics and docking.
