Difference between revisions of "Tutorial:Mun Landing"
m (→Step 2- Launch) |
m (→Step 2- Launch) |
||
| Line 26: | Line 26: | ||
Same as any standard launch, presumably on a much larger scale. See [[Tutorial: Super-basic Orbiting for dummies]]. | Same as any standard launch, presumably on a much larger scale. See [[Tutorial: Super-basic Orbiting for dummies]]. | ||
| − | At around 20,000m begin to tilt your craft '''east'''. We are going for a flat, stable, counterclockwise equatorial orbit (same as the Mun). Try to circularize your orbit around 150,000m. | + | At around 20,000m begin to tilt your craft '''east'''. We are going for a flat, stable, counterclockwise equatorial orbit (same as the Mun). Try to circularize your orbit around 150,000m, though any orbit above the atmosphere (70,000m) is fine. Going any higher than this is not recommended because circularizing a wide orbit just to reach the Mun would waste more fuel. |
Ideally, you do not want to ditch your first stage until you have achieved orbit. If your rocket isn't capable of reaching orbit on the first stage, try adding some detachable fuel tanks. | Ideally, you do not want to ditch your first stage until you have achieved orbit. If your rocket isn't capable of reaching orbit on the first stage, try adding some detachable fuel tanks. | ||
Revision as of 15:35, 17 September 2012
This tutorial will show you how to land a Kerbal on the moon.
Contents
Step 1- Build the Rocket
The kind of rocket that can get you to the Mun and back can be very, very heavy. The ideal sequence for a Mun rocket is 3-4 stages (though more or less are certainly possible).
Let's start from the top down:
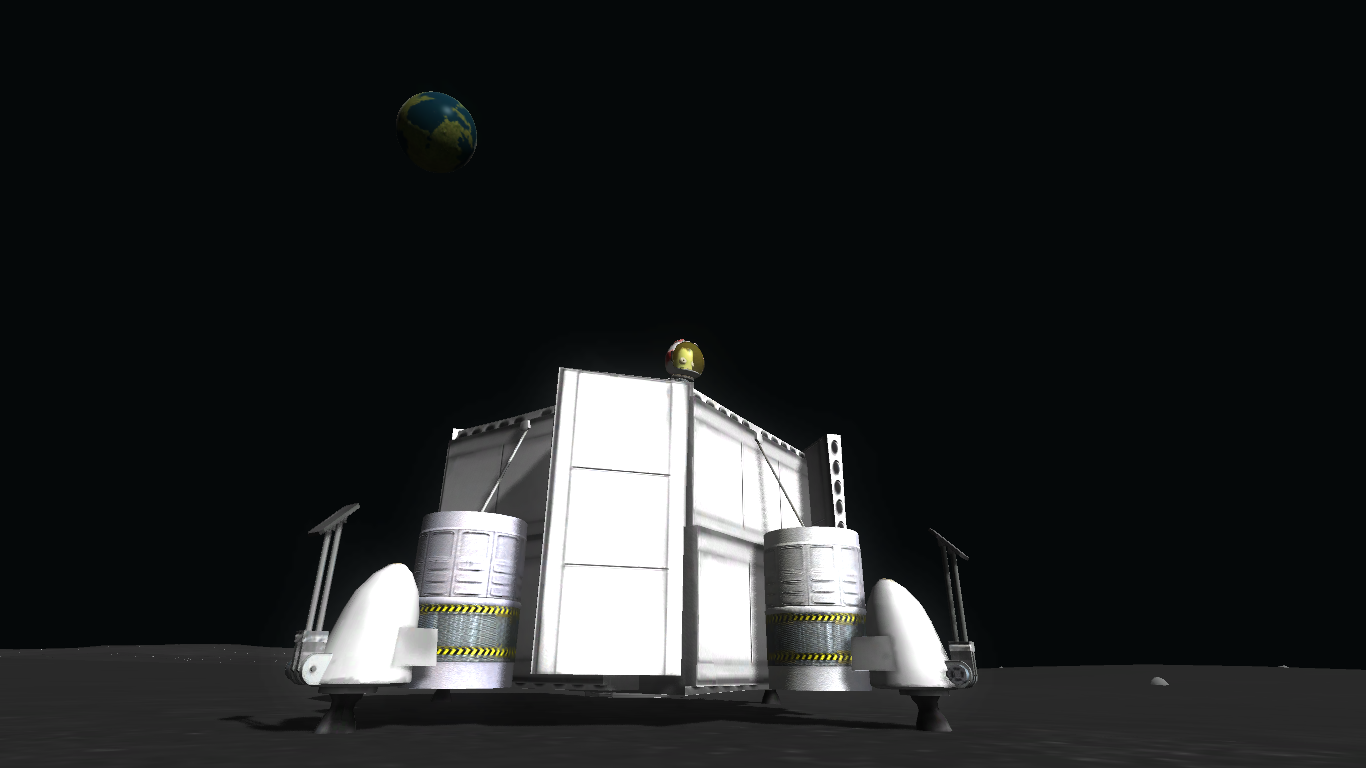
The Upper Stage (Lander) should be deployed in Munar orbit, and should be capable of traveling to the surface of the moon, back to orbit, back to Kerbin orbit, and down into Kerbin's atmosphere. Sounds like a lot, but since most of this occurs in a region with a small gravity well and no atmosphere, it doesn't require much. A couple fuel tanks, a parachute, and at least one light thruster should do it (note that landing legs, RCS, and ASAS are recommended, but not necessary).
Note: It is possible to split this into two stages, 1 for the descent, and 1 for the return home. This is only recommended for heavier, more advanced landers.
The Middle Stage (Transfer Burn) should be run from just before/during Kerbin orbit, and should end during/after Munar orbit. Depending on how effective your first stage is, this stage should not require much more fuel than the upper stage.
Note: It is also possible to incorporate this stage with the landing stage, though it is not recommended.
The Lower Stage (Launch) Should be big enough to haul everything above it into (or at least close to) orbit above Kerbin. While not required, it is recommended that this stage incorporate some detachable Solid Rocket Boosters (SRBs).
Travel light. The more you incorporate in the top stage, the more thrusters you'll have to add to the stage below, and so on and so forth.
Step 2- Launch
Same as any standard launch, presumably on a much larger scale. See Tutorial: Super-basic Orbiting for dummies.
At around 20,000m begin to tilt your craft east. We are going for a flat, stable, counterclockwise equatorial orbit (same as the Mun). Try to circularize your orbit around 150,000m, though any orbit above the atmosphere (70,000m) is fine. Going any higher than this is not recommended because circularizing a wide orbit just to reach the Mun would waste more fuel.
Ideally, you do not want to ditch your first stage until you have achieved orbit. If your rocket isn't capable of reaching orbit on the first stage, try adding some detachable fuel tanks.
Step 3- To the Mun
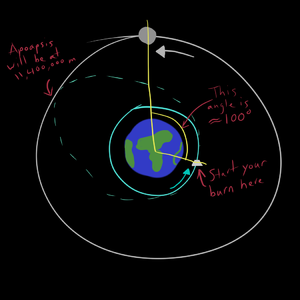
You will want your Apoapsis to intersect the moon's orbit. If you want to reach the moon on the first swing around, wait until you see the Mun rise just above the horizon.
Hopefully if you've done this right, you will be captured by Munar gravity on the first pass. Otherwise, you could always wait until you happen to lock.
When you do, turn your craft around and retro thrust to slow down so you do not fly out. Keep the retro thrust going until you've formed a nice orbit around the Mun. Because it's gravity is substantially weaker than Kerbin, your velocity will not be very high.
Step 4- The Descent
Select your landing site along your orbital trajectory. Once you are above it, kill your horizontal velocity until the yellow marker sits at the top of the Navball. Eject any stages beneath the lander if you haven't already done so.
Begin a slow, vertical descent. Do not tip your lander over.


